



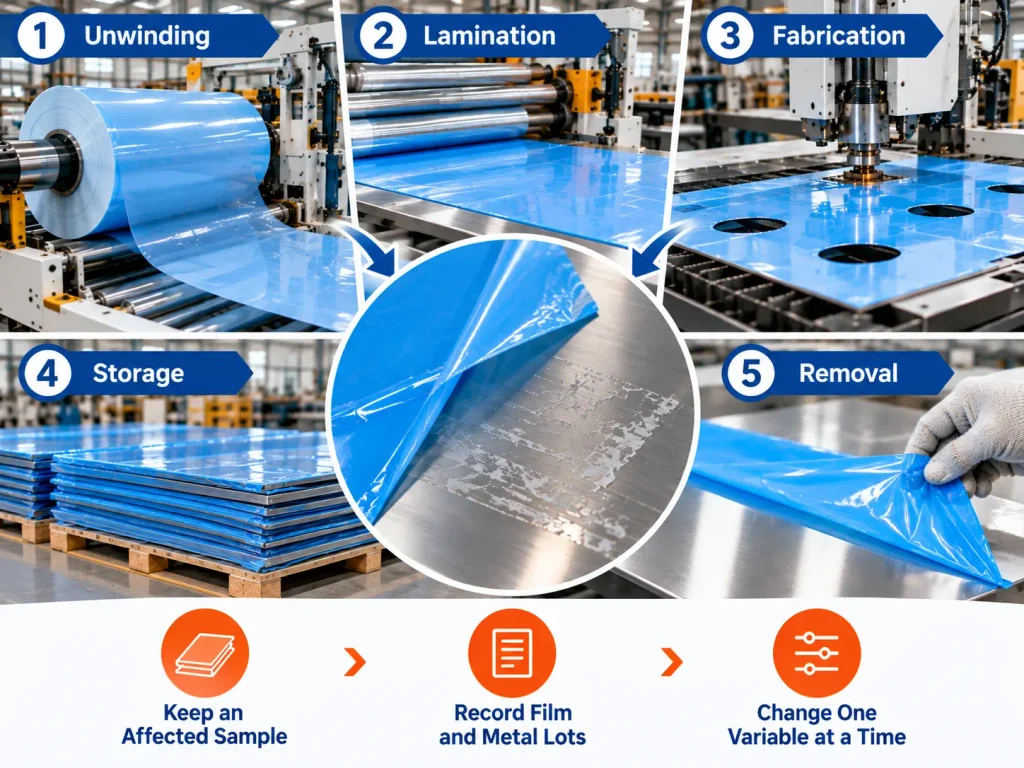
When protective film bubbles, wrinkles, lifts, tears, or leaves residue, start by locating the first failing stage: unwinding, lamination, fabrication, storage, or removal. Keep an affected sample, record the film and metal lots, and change one suspected variable at a time. A useful correction must protect the sheet through the remaining process and leave an acceptable surface after peeling.
For stainless-steel and coated-metal processors, the immediate decision is usually whether to correct the application, investigate the surface, or trial a different film specification. The checks below help you make that decision before committing another batch.
Check the roll before adjusting the laminator
If trouble starts with a new roll, inspect it before changing a previously stable machine setup. Look for shifted layers at the roll end, damaged film edges, visible particles, waves, and adhesive at the sides. Note any sticking or tearing during unwinding.
Our standard stainless-steel film data sheet includes appearance requirements for flat, uncracked edges, smooth film without foreign particles or wavy lines, and roll telescoping of no more than 1 mm. Use the requirements agreed for your supplied grade when checking an incoming roll.
Keep the roll label and photograph the defect before removing damaged material. If the film is already creased before it touches the sheet, increasing laminating pressure will not resolve the incoming defect. Set the suspect roll aside and compare an accepted roll under the same setup.
Match the symptom to the first useful check
| Scattered bubbles immediately after lamination | Surface cleanliness and dryness; particles beneath the film | Use a representative sheet prepared by the approved cleaning method, with settings unchanged | Bubble pattern, contact, and finish after removal |
| Long wrinkles or edge bubbles | Film condition before contact, web alignment, measured application tension | Correct one setup variable within the equipment and film suppliers’ agreed range | Full sheet width at normal operating speed |
| Edge lift after bending or roll forming | Whether the edge was attached before forming; bend location, tool contact, fluid contamination | Compare flat and processed pieces from the same film–surface pair | Edge retention after processing and the intended hold |
| Film tearing | Where the tear begins: roll edge, burr, tool-contact point, or stretched area | Address the observed initiation point, then repeat the operation | Film continuity, metal exposure, and underlying damage |
| Hard peeling, residue, or changed gloss | Actual dwell, exposure, surface lot, and removal method | Compare matched samples using the agreed removal method | Both the removed film and the exposed finish |
These checks set the investigation order. A visual symptom alone does not identify the responsible material or supplier.
Bubbles: separate application defects from changes during storage
Inspect a marked sheet as it leaves the laminator, then inspect that same sheet after the next operation. This separates bubbles present from the start from defects that develop later.
For immediate, scattered bubbles, check the contact area on a retained sample for particles or moisture. Clean another sample using the surface supplier’s approved method, allow it to dry, and repeat with the same film. Avoid introducing an unapproved cleaner into the trial.
If bubbles appear only after stacking or a hold, record the time, temperature, stacking conditions, and coating history. Ask the coating supplier whether the surface was ready for film application. Pressing bubbles flat before inspection removes useful evidence and does not demonstrate that the problem is resolved.
Wrinkles: measure tension before making another adjustment
Check where the wrinkle first appears: on the unwinding web, at a guide roller, or as the film meets the metal. Photograph its direction and position across the sheet.
Application tension deserves a measured check. Novacel’s application-tension guidance connects incorrect tension with stretching, longitudinal creases, and edge bubbling. Record the actual measurement and use the range agreed for your film and equipment; a universal tension setting is not appropriate.
After correcting alignment or tension, run at the intended production speed. A film that lies flat during a slow setup run still needs to pass at the operating condition.
Edge lift: check contact before increasing adhesion
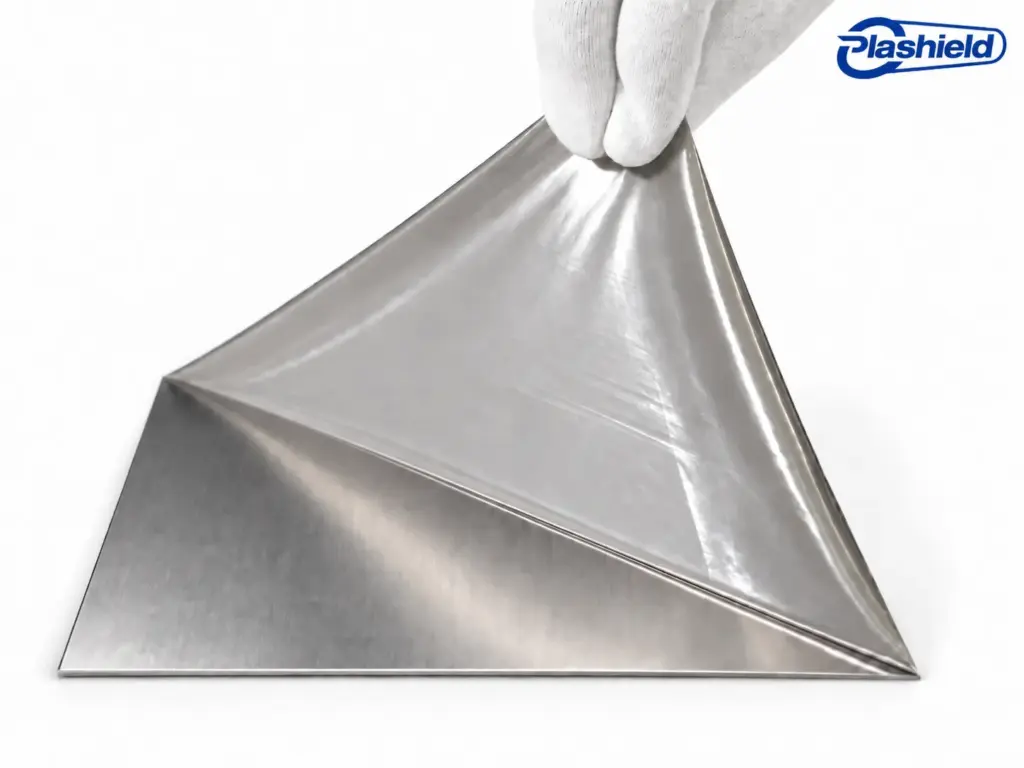
Compare the edge immediately before and after fabrication. Lift already present on a flat sheet points you toward application contact, surface preparation, or film matching. An edge that lifts only at a bend calls for inspection of that bend and its processing conditions.
If a clean, correctly laminated sample still lifts, compare an alternative adhesion level on the same finish. Carry both samples through storage and removal. Stronger initial adhesion is useful only if the finished sheet also peels acceptably.
Our standard stainless-steel protective film uses a PE backing with acrylic adhesive at a low adhesion level. The reference coated-steel film uses medium adhesion. Both reference data sheets specify 0.05 mm thickness, so thickness alone will not identify the appropriate film. Choose the construction around the actual surface and process.
Tearing: locate the starting point
Preserve the first torn piece. A split beginning at a damaged film edge needs a different trial from a tear that repeatedly follows a tool-contact point.
Inspect the film edge and the relevant metal edge or tooling. If these checks reveal no damage and tearing occurs in a stretched section, ask for a backing suited to the forming operation. Compare tensile and elongation data in the relevant direction, then test the real part geometry.
Increasing thickness without identifying where the tear starts can leave the cause unchanged. For laser processing, use a laser-cutting protective film trial matched to the machine and sheet rather than assuming that a standard handling film is suitable.
Residue or difficult removal: inspect before cleaning
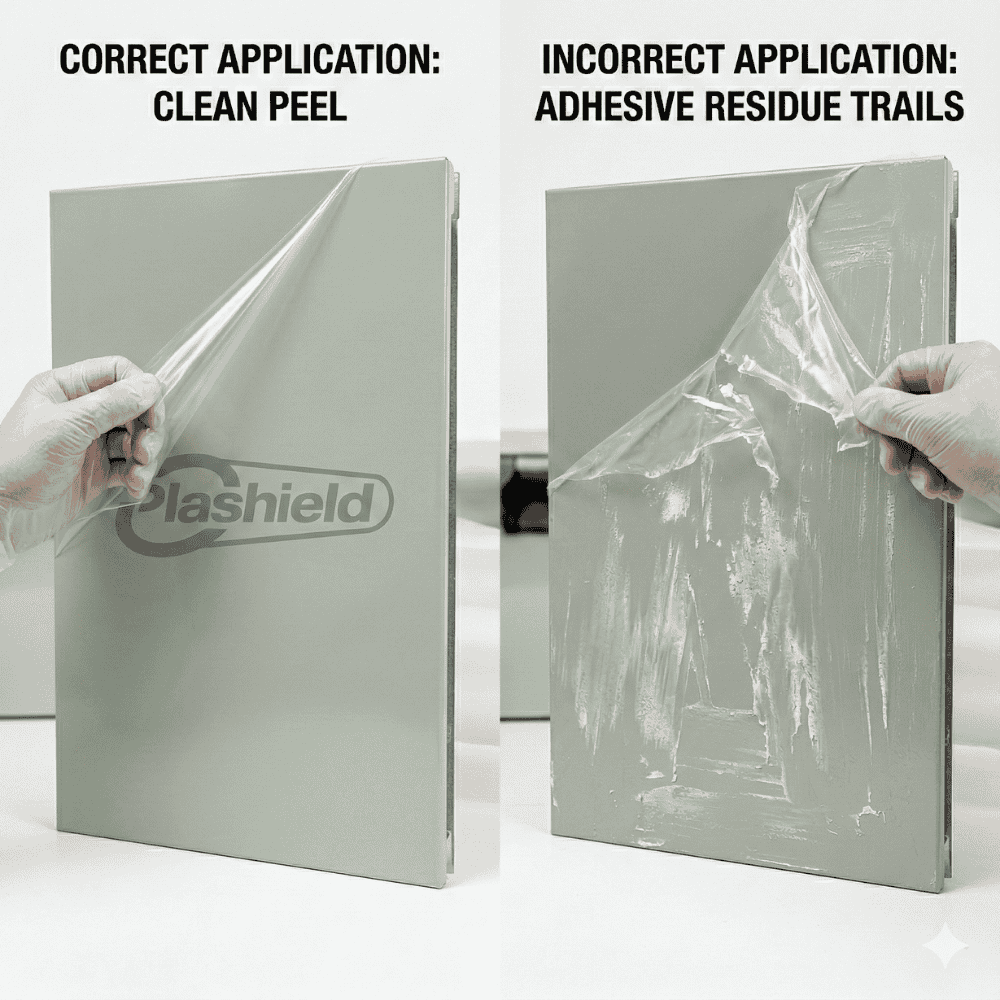
Peel a retained sample using the agreed method and inspect both surfaces. Record whether you see adhesive transfer, broken film, a change in gloss, or coating coming away with the film. Photograph the condition before attempting cleanup.
If coating lifts, stop the peel trial and involve the coating supplier. For suspected adhesive residue, test only a cleaning method approved for that finish on a separate sample. A mark that looks like glue should not automatically be treated with solvent.
Compare actual removal timing and exposure with the approved application. An immediate peel test cannot settle a complaint that appears after transport or prolonged storage.
Use a comparison that can distinguish film from surface
When the first checks do not resolve the defect, compare the suspect film with a previously accepted film on the same surface lot. Then, where retained material is available, compare both films on a previously accepted surface lot.
If both films fail only on the new surface, investigate that surface and its handling first. If one film repeatedly fails across both surfaces, investigate its roll condition, specification, and storage history. Failure of only one pairing points toward compatibility. These patterns guide the next test; repeat the result before assigning a cause.
Keep settings and inspection timing consistent. Novacel’s industrial approval guide recommends testing each intended surface and comparing films within a continuous production window. Label every sample so the result stays connected to its inputs.
What a Plashield panel project adds to the diagnosis
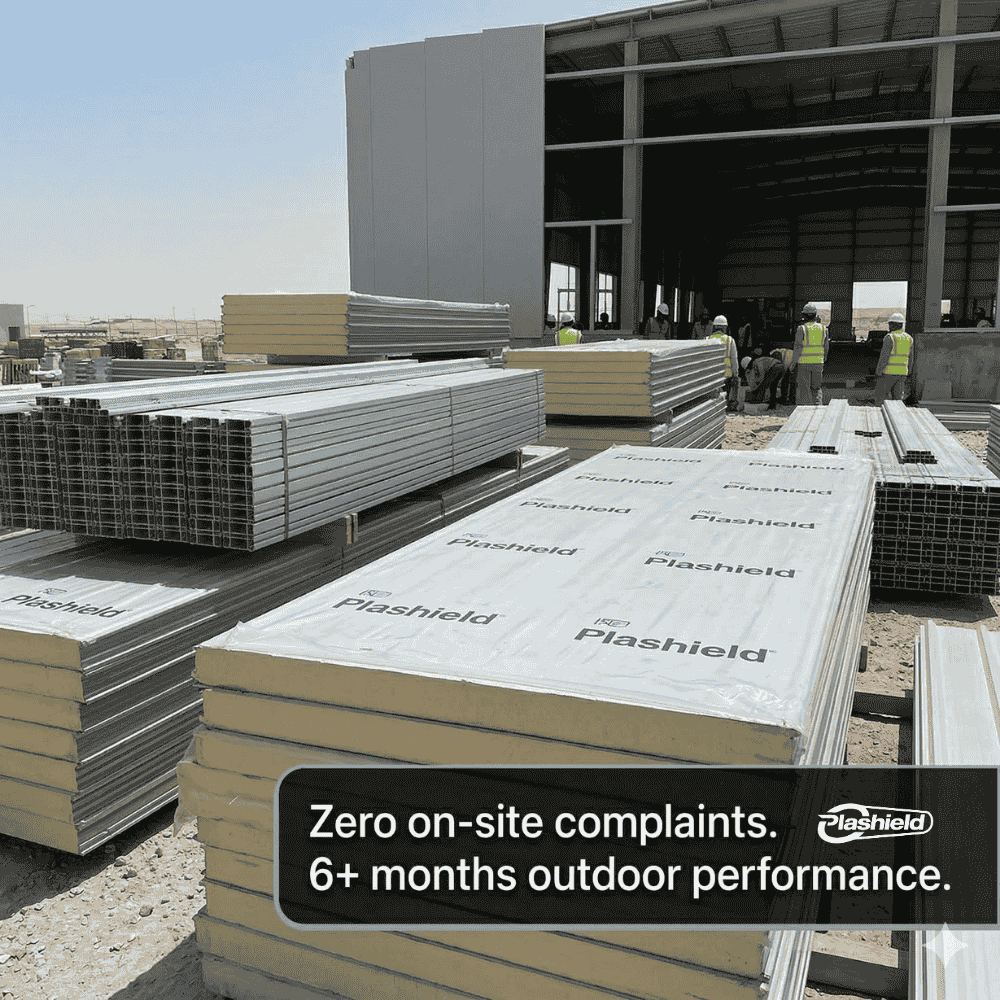
For a Saudi Arabian sandwich-panel manufacturer, we developed a 25 μm film in a 3,000 m roll format to address stickiness issues in long-sheet production. Project quality checks included peel strength, tensile testing, and aging checks.
The useful lesson from this project is to include roll format and unwinding behavior in the specification discussion. A short hand-applied sample cannot show how a full roll behaves on your line.
For your next trial, tell us whether the problem begins before the film reaches the sheet, during application, or after fabrication. We can discuss adhesion, thickness, and roll dimensions around that stage, then narrow the sample choice to your surface and production route.
Confirm the fix through final removal
Before the trial, agree on the protected area, permitted cosmetic defects, edge-retention requirements, and acceptable appearance after peeling. Set these criteria for the actual finished product rather than borrowing an unrelated bubble-size or peel-force limit.
Inspect labeled samples at four points:
- After lamination: check the full width, edges, and visible contact defects.
- After fabrication: inspect bends, cut edges, and tool-contact areas.
- After the intended hold: reproduce the relevant storage, stacking, and exposure conditions.
- After removal: inspect for residue, film fragments, coating damage, and changes in appearance.
Our standard stainless-steel film data sheet specifies a removal check after 48 hours at 60°C, followed by 30 minutes at room temperature and peeling at a uniform speed. That is a defined test condition. It does not establish an equivalent number of months on your finished panel.
Keep your real dwell and exposure in the trial plan. Once the selected combination passes, record the film grade, approved surface, line settings, and removal conditions together. Recheck the combination when a coating, finish, process, or exposure condition changes.
Questions from production and purchasing teams
Can we keep the same film when changing from smooth to brushed stainless steel?
Treat the finish change as a new application trial. Compare adhesion, edge retention, and removal on the actual brushed surface through the intended process. Approval on one finish does not establish performance on another.
Does a 12-month shelf life mean the film can stay on a panel for a year?
No. The 12-month shelf life in our standard stainless-steel film data sheet concerns the film under its stated packaging, transport, and storage conditions. Time attached to a panel must be specified separately, including heat, sunlight, and removal conditions.
Should purchasing compare suppliers by peel-force numbers?
Only when the test conditions are comparable. Ask for the test surface, peel angle, speed, dwell, and conditioning alongside the value. A higher number by itself does not identify the better film for your sheet.
What if we have no retained film or sheet from an acceptable batch?
Begin with the inputs available and change one variable at a time. Ask the supplier for a candidate film and label the comparison carefully. Without an accepted control, a better trial result supports the next test but does not isolate the original cause.
What should we send Plashield first?
Send a defect photo, the metal finish or coating description, and the stage where the problem appears. If available, add the film-roll label. Contact our team to discuss a suitable film specification and sample trial. We can collect the detailed line and exposure conditions as the investigation develops.